Free halloween printable
Halloween Monster Maker: 3 No-Scare Design Pages
Make three original friendly monsters your own: draw a face, invent a belly texture and add a helpful pocket object. Three free PNG design starters with flexible instructions.
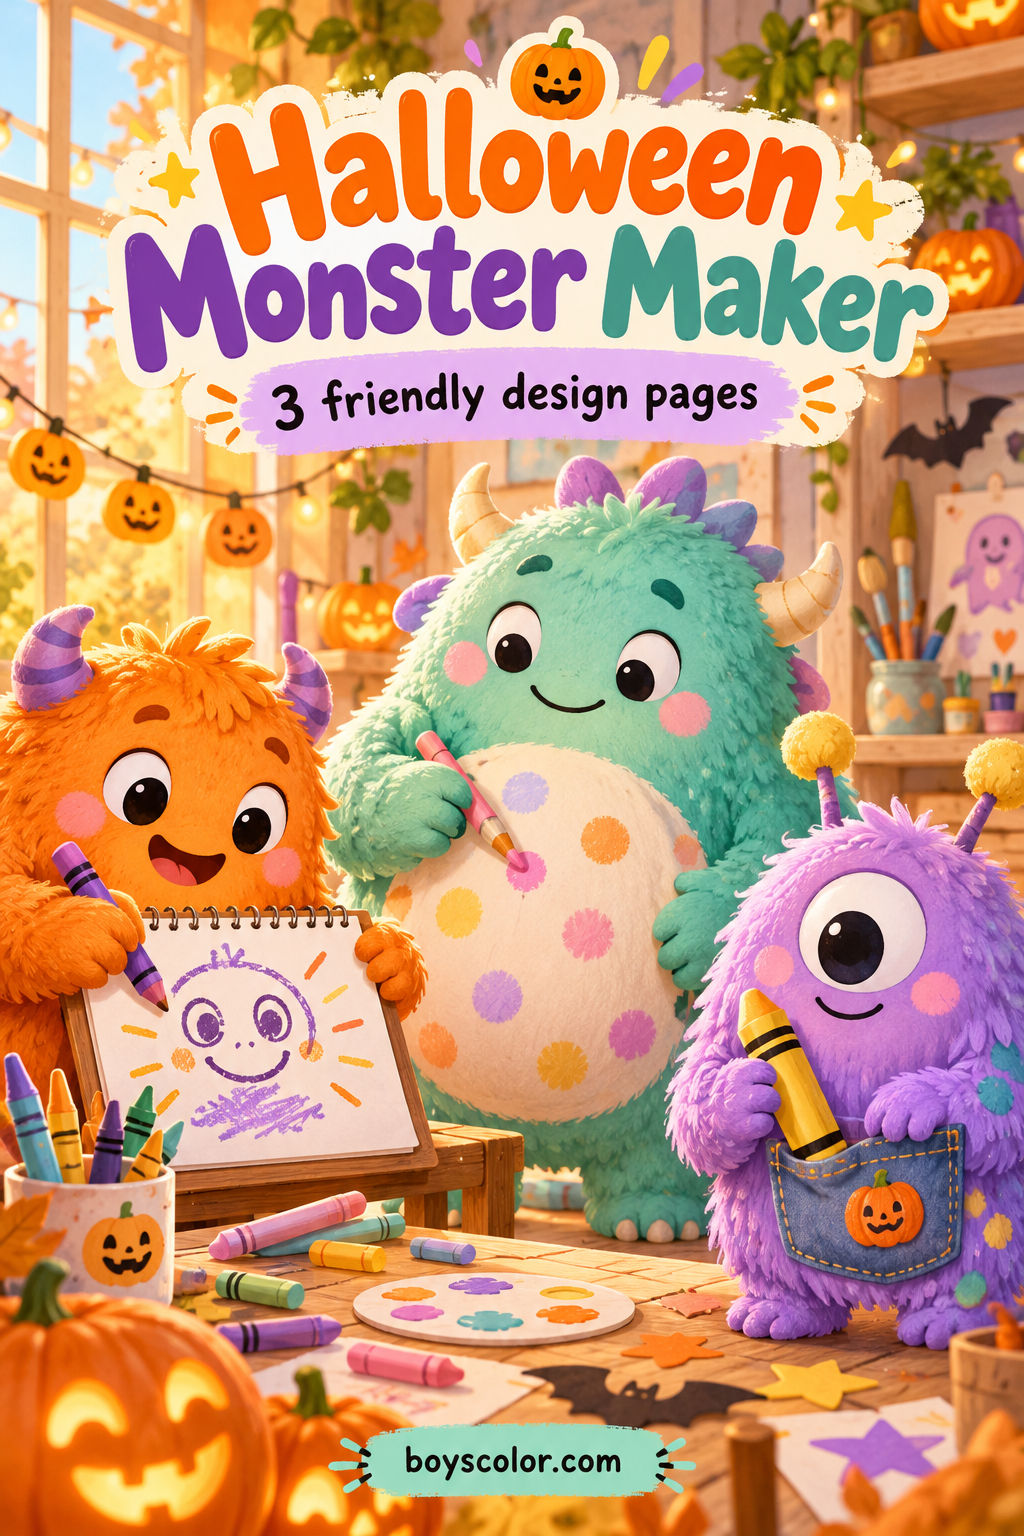
A monster does not have to arrive with a finished face and a frightening story. These three design pages leave an important part for your child to invent: a face, a body texture or something useful in a pocket. Start with one decision and let that decision suggest the character. Coloring can come afterward rather than being the only thing there is to do.
The three original black-and-white BoysColor PNGs are free downloads below. Each is a separate design starter, not a matching puzzle, a numbered coloring page or a piece of a wearable costume. The colorful cover is an illustration of the activity, not a fourth printable or a model your child must reproduce.
“No-scare” describes the gentle direction of these drawings, not a guarantee about how every child will feel. Preview the page together and let the child choose whether to use it. The monsters have soft outlines and no threatening scenes. If the theme does not appeal, choose a different activity without asking the child to prove that the picture is harmless.
Choose one character and one small design decision
Set out a pencil, crayons or colored pencils and one printed page. Scrap paper is useful for trying a face or texture first. Nothing needs to be cut out, glued together or worn. A child can make a small drawing, dictate an idea for an adult to note on the back, or simply choose colors. Completing all three pages is optional.
Print the PNG in portrait orientation and select Fit to page on Letter or A4. These are image files, not pre-sized PDFs. Check the print preview so the feet and outside contours remain inside the printer margins. Keep the original proportions; do not stretch a round face to fill a different paper shape.
Ask which kind of designing sounds enjoyable: making an expression, inventing how a surface looks, or imagining a useful object. These are different creative choices, not three difficulty levels. If drawing feels like a large first step, make a tiny trial on scrap paper or invite an adult to draw exactly what the child requests.
- Choose one of the three free design starters.
- Look at the intentionally blank area before coloring.
- Add one invented detail, then choose a few colors.
- Give the character a name or tell one thing it might do.
1. Make a face for a soft-shaped monster
The empty face is the main design space on this sheet. It is not a printing error. Before drawing, decide what the monster has just noticed: a friend at the door, a wonderful crayon or the smell of a favorite snack. That imagined moment can suggest an expression without requiring a particular emotion.
Try two little face ideas on scrap paper. Two dots and a short curved line may be enough; eyes can be large, small or deliberately mismatched. Choose the version the child likes and put it in the blank area. Do not correct an unusual face just because it does not look conventionally happy. Ask the child what it means to their character.
A small start and an optional extension
For a small start, draw just eyes, or let an adult draw a simple face the child chooses. The rest of the page can remain a coloring activity. There is no required number of eyes, no right mouth shape and no hidden answer key.
For more designing, try changing one feature on scrap paper and notice how the character seems different. Keep that comparison playful rather than treating it as a test of reading feelings. Then color the body in a chosen palette and decide how this monster would introduce itself. A spoken greeting is enough; no written story is required.
- Imagine what the monster has just noticed.
- Try a simple face on scrap paper, then draw it on the sheet.
- Color the body and invent a short introduction.
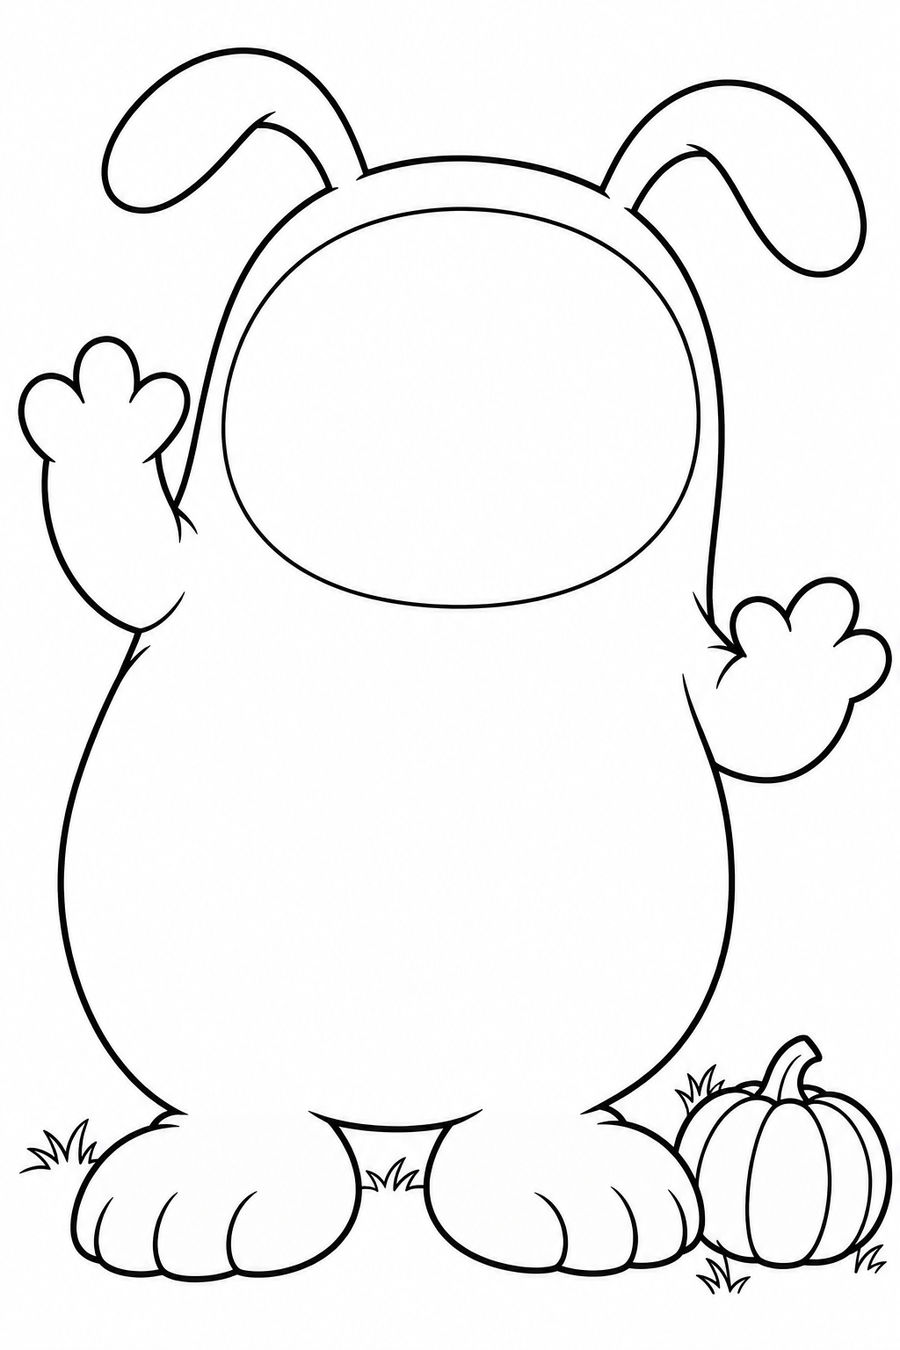
Download this free printable (PNG)
Ask your child: What has your monster just seen, and what face would it choose?
2. Invent a texture for the big belly panel
This monster already has a face, so the design task moves to its large blank belly. Decide how the character’s surface might look: soft fluff, overlapping feather shapes, broad bubble circles or an invented combination. The marks are a drawing idea, not a scientific claim about a real creature.
Choose one kind of mark and try it in a small part of the panel. Short curves may suggest fluff, while broad loops can suggest a springy surface. Leave gaps so the marks can still be seen after coloring. There is no printed sequence to continue and no need to repeat a pattern perfectly. This is texture invention, not the shape-matching game in our earlier monster guide.
Let the child decide how much texture belongs there
For a small start, draw a few large marks and stop. Color around them or leave the panel white while coloring the arms and feet. A completely filled belly is not the goal, and a child who dislikes repeated marks can choose one big symbol instead.
For an extension, give two parts of the belly different imaginary textures and describe them in words: perhaps the top looks fluffy while the bottom looks like soft pebbles. Use a color difference if wanted, but do not turn it into a required two-color rule. Finally, invent a place where the monster would enjoy sitting or sleeping.
- Choose a pretend surface and one kind of drawing mark.
- Test a few marks in the broad empty panel.
- Add color without hiding every line, then describe the surface.
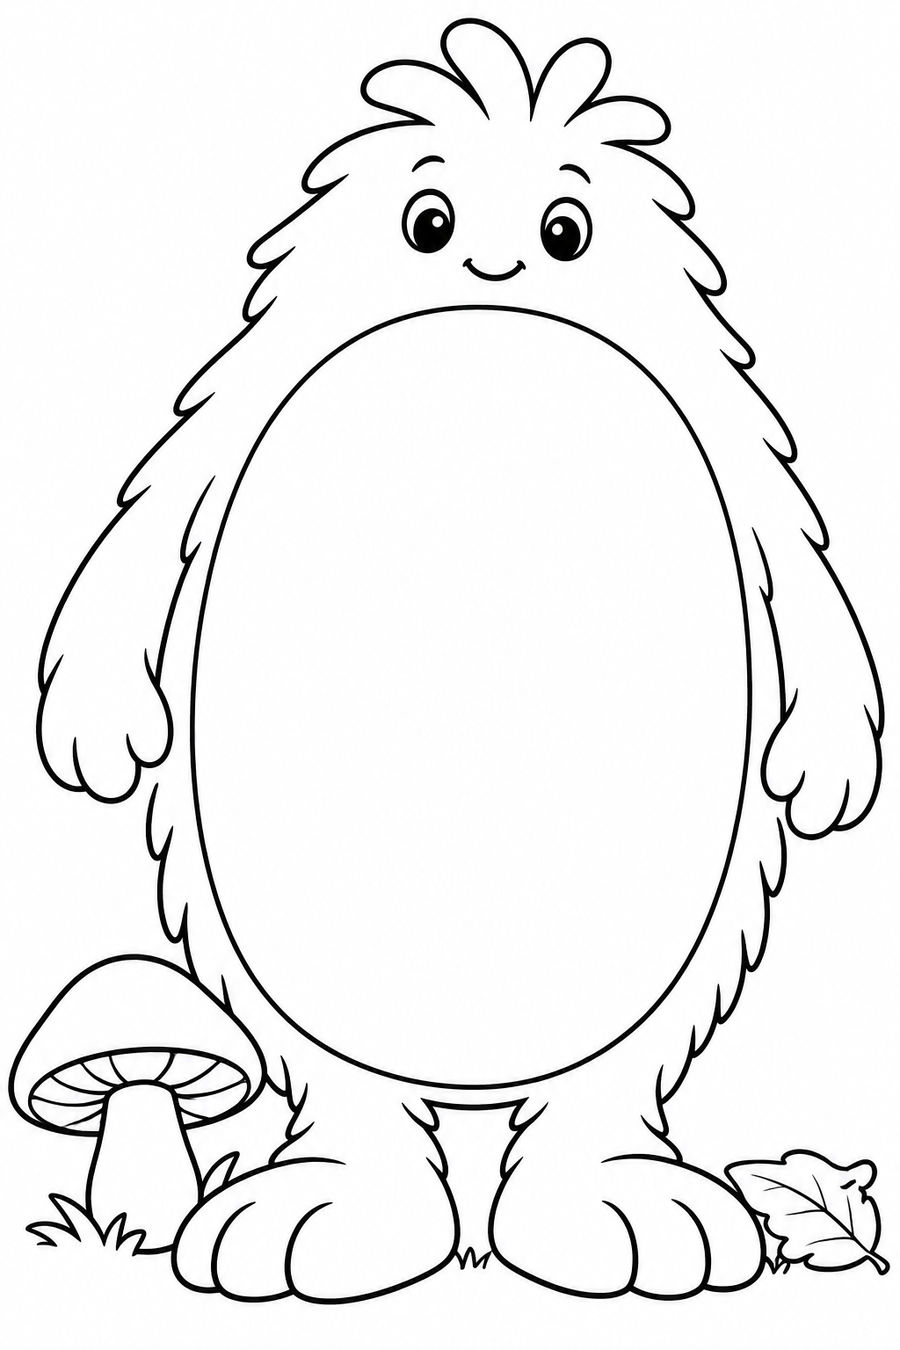
Download this free printable (PNG)
Ask your child: What would this imaginary belly look like close up?
3. Design a useful thing for a pocket helper
The apron pocket starts empty on purpose. First choose one small helpful job: watering a houseplant, finding a missing sock or bringing someone a drawing. Then invent something the monster could carry for that job. The object may be ordinary or completely imaginary; a tiny cloud that waters one flower is as welcome as a little watering can.
Draw the item inside the broad pocket, or show just its top peeking out. The object does not need to fit realistic measurements. It is a flat drawing prompt, not an engineering plan or a cut-and-paste pocket that will hold a real object. Keep tools imaginary and gentle; no sharp or dangerous equipment is needed for the activity.
Begin with a symbol or tell a two-part helper story
For a small start, put a simple symbol on the pocket: a flower for garden help or a sock shape for finding laundry. A child can point to the symbol and let an adult describe the idea. Coloring only the apron can also be a complete short session.
For an extension, tell two short parts: “Someone needed…” and “The monster helped by…” Let the child supply both ideas. If the imaginary solution is silly, stay with the invention rather than replacing it with an adult’s practical answer. Add one color that makes the pocket item easy to notice, then choose a name for the helper.
- Choose one small helpful job.
- Draw a tool, imaginary object or simple symbol in the empty pocket.
- Color the apron and tell how the object helps.
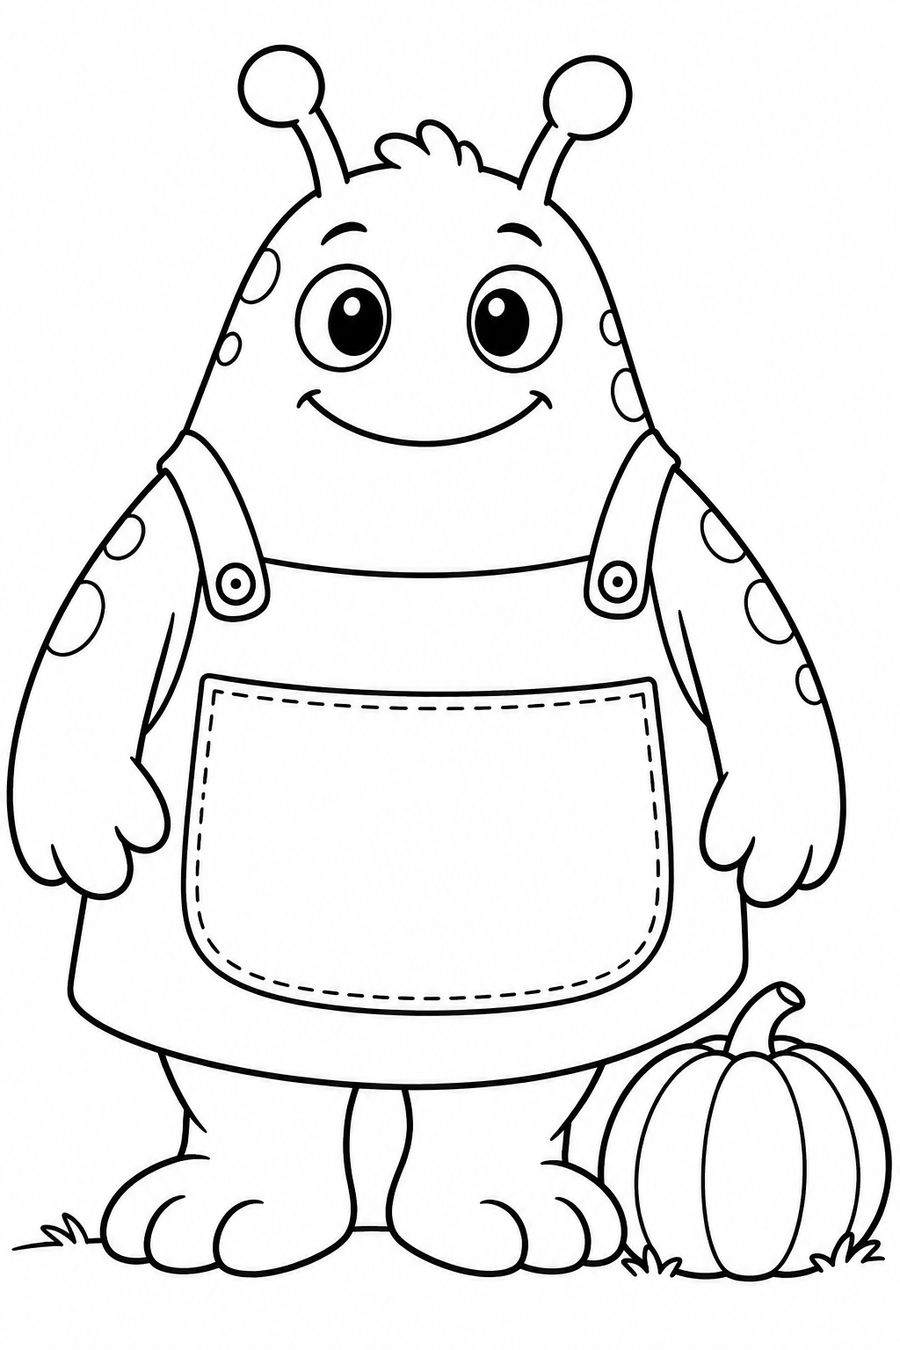
Download this free printable (PNG)
Ask your child: What small problem could your pocket helper solve in a story?
Show the design choice, not a perfect finished page
Ask the child which part they invented and let them point it out. That answer may be a pair of eyes, three belly marks or one pocket symbol. It does not need to be the most detailed part of the picture. Display one page if wanted, or store it flat and return to coloring later.
If the child wants to connect the characters, invent one ordinary place they could meet: a crayon shop, a garden gate or a kitchen table. Each can bring the feature from its page into the story. The face-maker might greet the others, the textured monster might offer a soft seat and the pocket helper might bring a useful object. This is optional, not a fourth worksheet.
These pages do not assess feelings, teach a fixed definition of friendliness or guarantee a calm response to Halloween. Let the child’s choices set the tone. For a different activity another day, the separate monster matching guide has clear shape answers; today’s characters stay open-ended.
🎃 More halloween coloring collections
6 hand-picked coloring page sets on the same theme.


