Free race cars printable
4 Monster Truck Track-Design Coloring Challenges
Download four original free monster truck pages and design a route, ramp order, turning course and finish section before coloring.
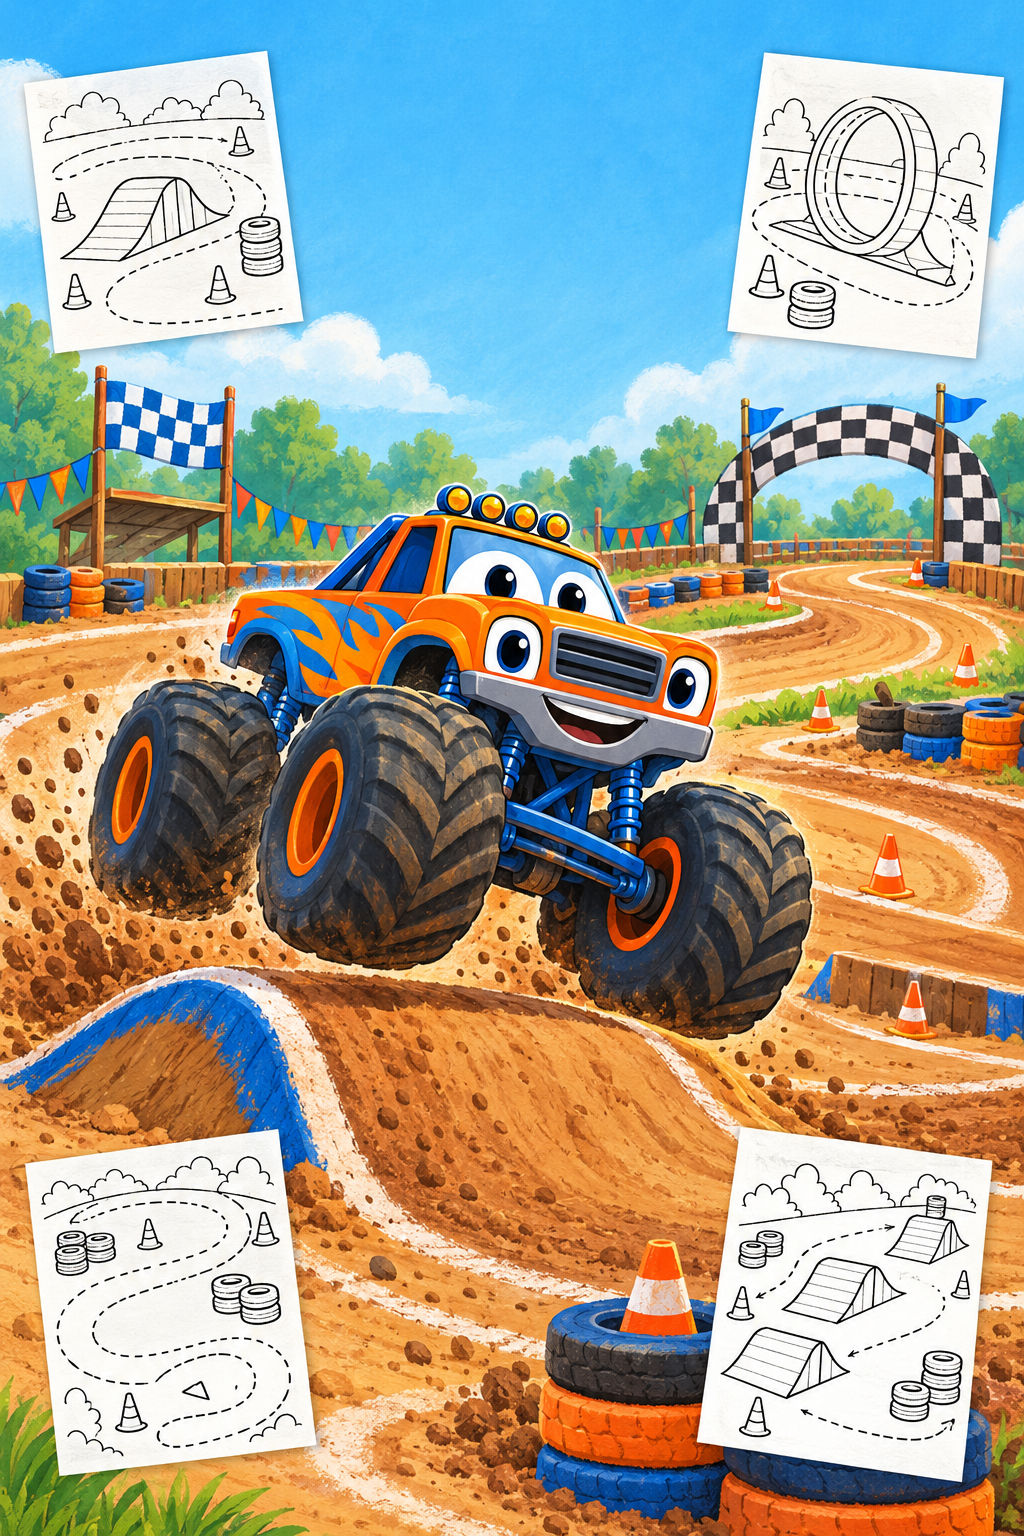
A monster truck page can become more than a picture to fill in. These four original BoysColor worksheets leave useful parts of the arena open so a child can decide where the truck should go. One page asks for a route from start to finish, one offers three ramps to put in order, one turns four track markers into a course, and one leaves room to finish a race-day scene.
Each page is a separate free PNG. Choose one challenge for a short activity or print all four for a small track-design session. The child does not need to draw a technically realistic course. The goal is to make clear choices, add simple lines or symbols, and then color the result.
The colorful cover above illustrates the theme. The actual downloadable pages are the black-and-white worksheets below. The optional Creative Fabrica product near the end is a separate collection by another creator and does not contain these BoysColor sheets.
Give the designer a few simple tools
Print at “Fit to page” on Letter or A4 paper. Start with a pencil so the child can change a route before coloring. A dark crayon or marker can trace the final path, but place a spare sheet underneath if ink may bleed through.
Before drawing, point out the truck and the fixed landmarks. Ask where the course begins, where it ends, and which object the truck should meet first. A route can be one curved line, two parallel track edges, arrows, or a chain of tire marks. There is no single correct symbol system.
- Choose one worksheet and find its fixed landmarks.
- Sketch the route lightly in pencil.
- Add arrows or tire marks if they help explain the direction, then color the scene.
1. Draw a route from start to finish
The first arena has a start flag, a finish flag and three large empty circles. Draw a path that reaches the circles in any order. The line can loop around a circle, pass through it or stop beside it. The circles can remain route markers or become mud pits, islands, cones or invented obstacles.
Try the route with a fingertip before drawing. If two sections cross, add a bridge mark or decide that one line passes under the other. This makes the child explain the picture without turning it into a right-or-wrong maze.
- Choose which circle the truck reaches first.
- Connect the start, all three circles and the finish.
- Turn each circle into a track feature, then color the truck and arena.

Download this free printable (PNG)
Ask your child: Which part of your route would be the most exciting to drive?
2. Put three ramps in order
This page shows three clearly different ramp shapes. Decide whether the truck should begin with the low curve, the pointed ramp or the bridge-shaped ramp. Draw arrows between them, then add a final line leading away from the last one.
The sequence can tell a small story. Perhaps the first ramp is a warm-up, the second crosses an imaginary stream and the third leads to the finish. The drawing is pretend play rather than a plan for building or driving a real course.
- Number the ramps 1, 2 and 3, or point to them in order.
- Draw a route from the truck to each ramp.
- Give every ramp a different color or pattern.

Download this free printable (PNG)
Ask your child: Why did you choose that ramp for the beginning?
3. Make turns around four markers
The tire stack, cone, flag and dirt mound sit around a wide empty space. Draw a looping path around them or make a sharper zigzag course. The truck does not have to visit every marker if the child wants a shorter route.
Use a different symbol for each instruction: an arrow for direction, a small X for a stop and short curved marks for a turn. Younger children can skip symbols and simply draw one broad line.
- Choose a first marker and a final marker.
- Draw one loop or zigzag through the arena.
- Add an arrow, stop mark or turn mark, then color the four landmarks.

Download this free printable (PNG)
Ask your child: Would your truck take wide turns or tight turns?
4. Complete the finish section
The last page already has a curving track and a checkered finish arch. The child finishes the design by deciding what happens near the puddle, what symbol belongs on the blank billboard and how the truck passes the three cones.
The billboard can hold a made-up team mark, a simple shape or a number. No brand name is needed. Add arrows along the final curve, then color the truck and finish area so the important details stand out.
- Choose whether the route goes around or beside the puddle.
- Draw a team symbol on the empty billboard.
- Add direction arrows near the cones and finish arch, then color the scene.

Download this free printable (PNG)
Ask your child: What symbol would tell everyone which team built this track?
Let the child explain the finished course
When the page is done, ask the designer to trace the route with one finger and describe what happens at each landmark. A short explanation can reveal choices that are not obvious from the lines alone. Write a track name on the back if the child invents one.
To reuse a favorite sheet, print it again and change only one decision: reverse the direction, start with another ramp, or make a shorter route. The same page becomes a new design problem without requiring more supplies.
🏎️ More race cars coloring collections
12 hand-picked coloring page sets on the same theme.