Free robots printable
3 Robot Parts Coloring Pages to Build an Invented Helper
Three free robot parts coloring PNGs: choose a head and body, add paper limbs and invent a helper with a simple mix-and-place collage activity.
What would a robot made for your home actually help with? Perhaps it would find lost socks, carry imaginary moon snacks or remember where a favorite book belongs. Start with that small idea, then choose a head, a body and some paper limbs. The interesting part is deciding what your invented helper needs, not matching a finished model.
These three original free BoysColor PNG sheets provide two head choices, two torso choices and four limb pieces. Color the parts, arrange a flat paper character and add your own expression and control-panel marks. The pieces work as a loose overlap collage: they are not a precision-fitting puzzle, a moving-joint kit or instructions for building a real machine.
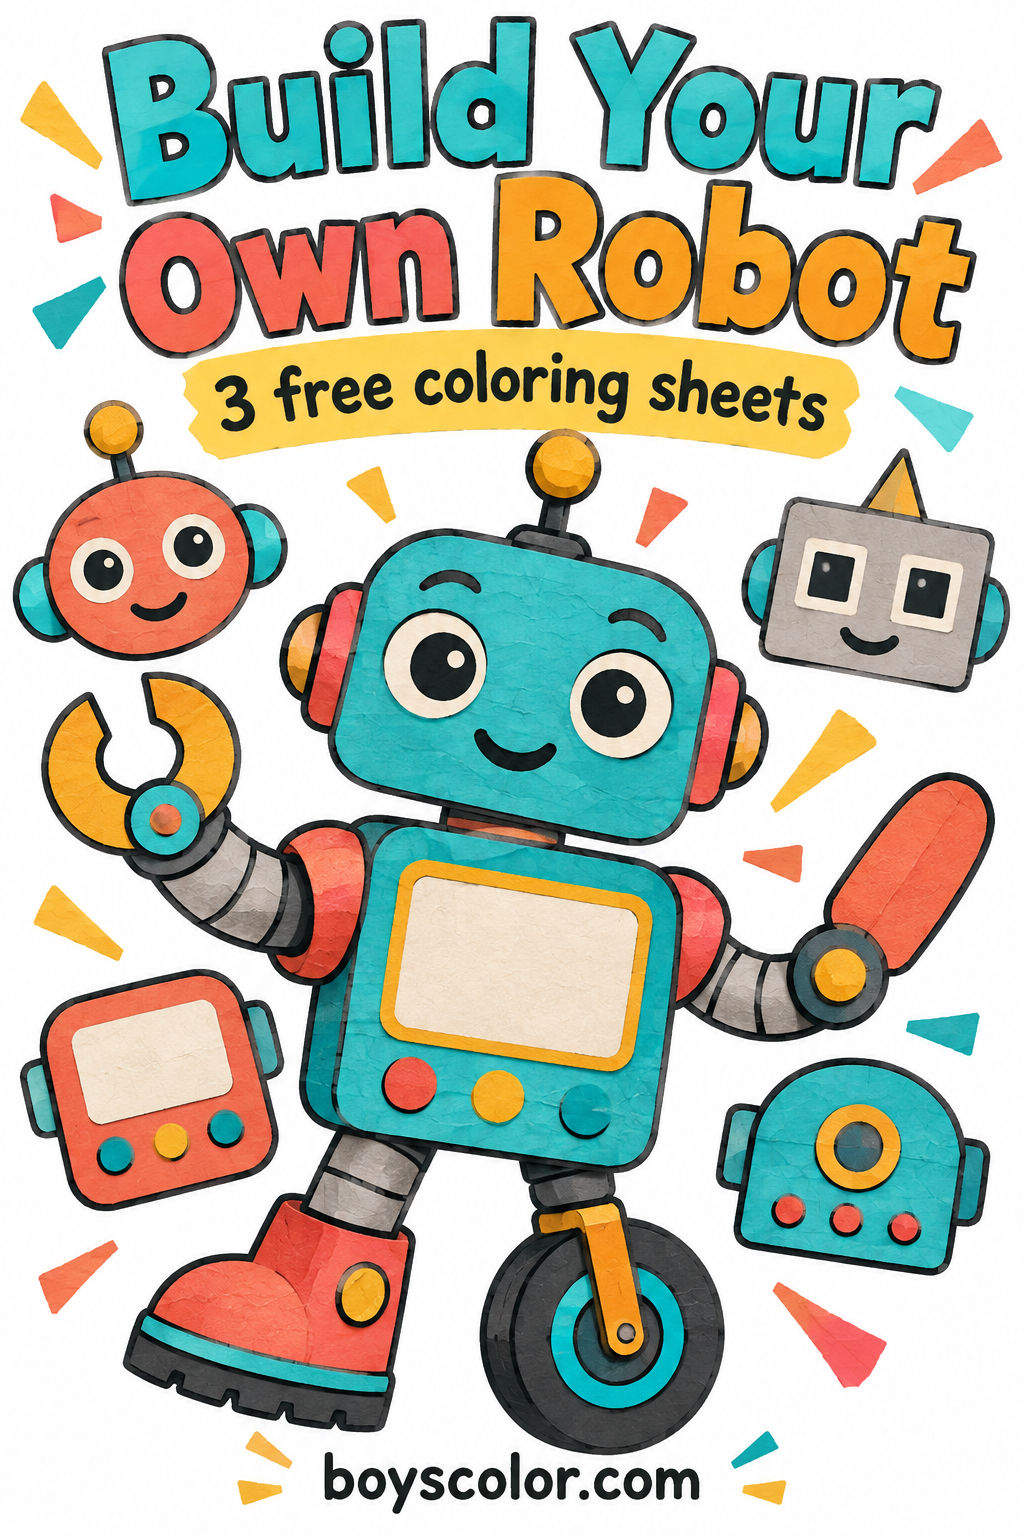
You do not need to use every piece or finish in one sitting. A child can choose one head and torso while an adult handles cutting, or skip scissors and draw the selected shapes on plain paper. The colored cover illustrates the idea; the three separate black-and-white downloads below are the actual activity sheets.
Prepare a little robot design space
Set out the three sheets, crayons or pencils, plain backing paper and a glue stick. Scissors are optional and should suit the person using them; an adult can pre-cut the pieces. No craft knife, hole punch, split pins, batteries or electronics are needed. The circles on the drawings are decoration, not holes that must be opened.
The downloads are portrait PNG images, not pre-sized PDFs. Print all three with the same orientation and scaling setting. Fit to page on Letter or A4 is a useful starting point, but printer margins vary. Check a test set before making several copies. Do not stretch one page differently from another or crop off the neck extension.
Because the parts are deliberately large, the assembled robot may be taller than one sheet of printer paper. Use a large backing sheet or tape two plain sheets together. If you want a smaller character, print all three PNGs at the same reduced percentage. These are freely overlapping pieces, not measured connectors that need an exact fit.
Ask one starting question: What tiny job will this helper do? Keep the answer playful and specific, such as returning a pencil or watering a pretend moon flower. Put a few chosen colors nearby. The activity can begin with only the head sheet; there is no need to cut and glue everything before a child can make a design choice.
- Choose a helper job and one head and torso.
- Color the pieces while they are still on the flat sheets.
- Cut broad outer shapes, leaving a small white border if useful.
- Arrange the whole character without glue, then attach it to backing paper.
Free sheet 1: Choose a head and invent an expression
The first page offers two detached heads with broad blank face spaces. Choose the rounded-square head, the round head or both for two different characters. Add eyes and a mouth after trying an expression on scrap paper. An empty face is intentional: the page leaves the character’s mood and personality to the child.
Try a simple design decision rather than a correctness test. Would a listening helper have large eyes, a tiny mouth or a sleepy smile? There is no right expression for a job. Make one clear choice and let the rest stay simple. The small side shapes and aerials can remain uncolored if the child wants a shorter task.
Keep a neck overlap
When cutting, leave the rectangular extension below the chosen head attached. Slide it behind the torso during the dry arrangement. It is an overlap area, not an interlocking tab. If it feels too long, hide more of it behind the body rather than cutting a slot. The unused head can stay on its sheet for another day.
- Point to one head shape.
- Draw a face with the expression you want.
- Color before cutting, then keep the neck extension attached.

Download this free printable (PNG)
Ask your child: How will your helper look when it is ready to help?
Free sheet 2: Pick a body and design its panel
The second page has two rounded torso choices with different panel outlines. Pick one and decide what belongs in its empty chest space. Draw a simple symbol for the helper’s job: a book, a flower or a sock. The panel is for drawing and storytelling, not a real switchboard. No extra electronic pieces are required.
Set the chosen head above the torso before gluing. A wide head on a narrower body is a valid cartoon choice; the pieces do not have to look mechanically realistic. Try a small overlap, then a larger overlap, and choose the silhouette you prefer. Keep any remaining torso for a different character rather than forcing both into one robot.
Give one symbol a meaning
Ask what the drawn panel symbol tells someone about the helper. A child who does not want to draw can use a colored patch instead and tell the meaning aloud. An adult may write the child’s words on the backing paper, not across a small shape that still needs coloring. This is an invented design, not a lesson in real machine controls.
- Choose one torso and color its large areas.
- Draw a job symbol in the blank chest panel.
- Place the neck behind the torso and check the overall outline.

Download this free printable (PNG)
Ask your child: What does the symbol on the chest tell us about this robot?
Free sheet 3: Add arms, a boot and a wheel
The third page contains four separate pieces: a gripper arm, a paddle-hand arm, a boot leg and a wheel-ended leg. You may use all four or choose fewer. They suggest different cartoon actions without claiming that a flat paper robot can actually grip, roll or stand up. Ask which piece best fits the helper’s imaginary job.
Keep each arm or leg as one broad cut-out shape. There is no need to cut inside the gripper, around every joint line or through a decorative circle. Leaving a little white paper around tricky corners is fine. If cutting small contours is frustrating, an adult can simplify the outline or offer already-cut pieces.
Arrange first, glue second
Lay the torso on the backing paper, tuck the tops of the arms behind its sides and overlap the leg tops behind the lower edge. Move the pieces until the character fits comfortably. Take a quick look at the head, arms and feet together before adding glue. The joints will be fixed once glued; this is not an articulated puppet.
- Color and cut the limb pieces you want.
- Try their positions without glue.
- Attach the overlaps, then add the whole robot to its backing paper.

Download this free printable (PNG)
Ask your child: Which part would your helper use first, and what would it do?
Introduce the helper in one small story
Give the finished character a name and tell one short scene: the helper notices a problem, tries an action and shows what changed. For example, a book-finding robot spots an empty shelf space and carries back an imaginary storybook. A child can speak the scene, draw it around the collage or ask an adult to write a sentence underneath.
If a part ends up too close to the edge, add more backing paper rather than squeezing or stretching the whole robot. If the layout feels crowded, leave off an unused limb or save it for another character. A single colored head with an invented expression can also be a complete activity; there is no requirement to finish every sheet.
For a no-cut version, keep the printouts intact and use them as a choice menu. Point to a head, a body and a limb, then draw a new helper on plain paper. For two children sharing a table, let each choose independently instead of assigning a best design. Different expressions, symbols and helper jobs make the same starting parts lead to different characters.
Put the spare parts in an envelope if you want another round. Next time, change the job before changing the colors and see which parts you choose differently. If your child prefers a complete scene instead of a collage, the separate robot workshop guide offers coloring stories. You do not need another download today to enjoy this little invented helper.
🤖 More robot coloring collections
5 hand-picked coloring page sets on the same theme.