Free space printable
A Space Window Coloring Project for a Cozy Afternoon
Color one free space-window PNG and turn it into a paper display for an invented view. Includes a no-cut option and a reusable paper-frame variation.
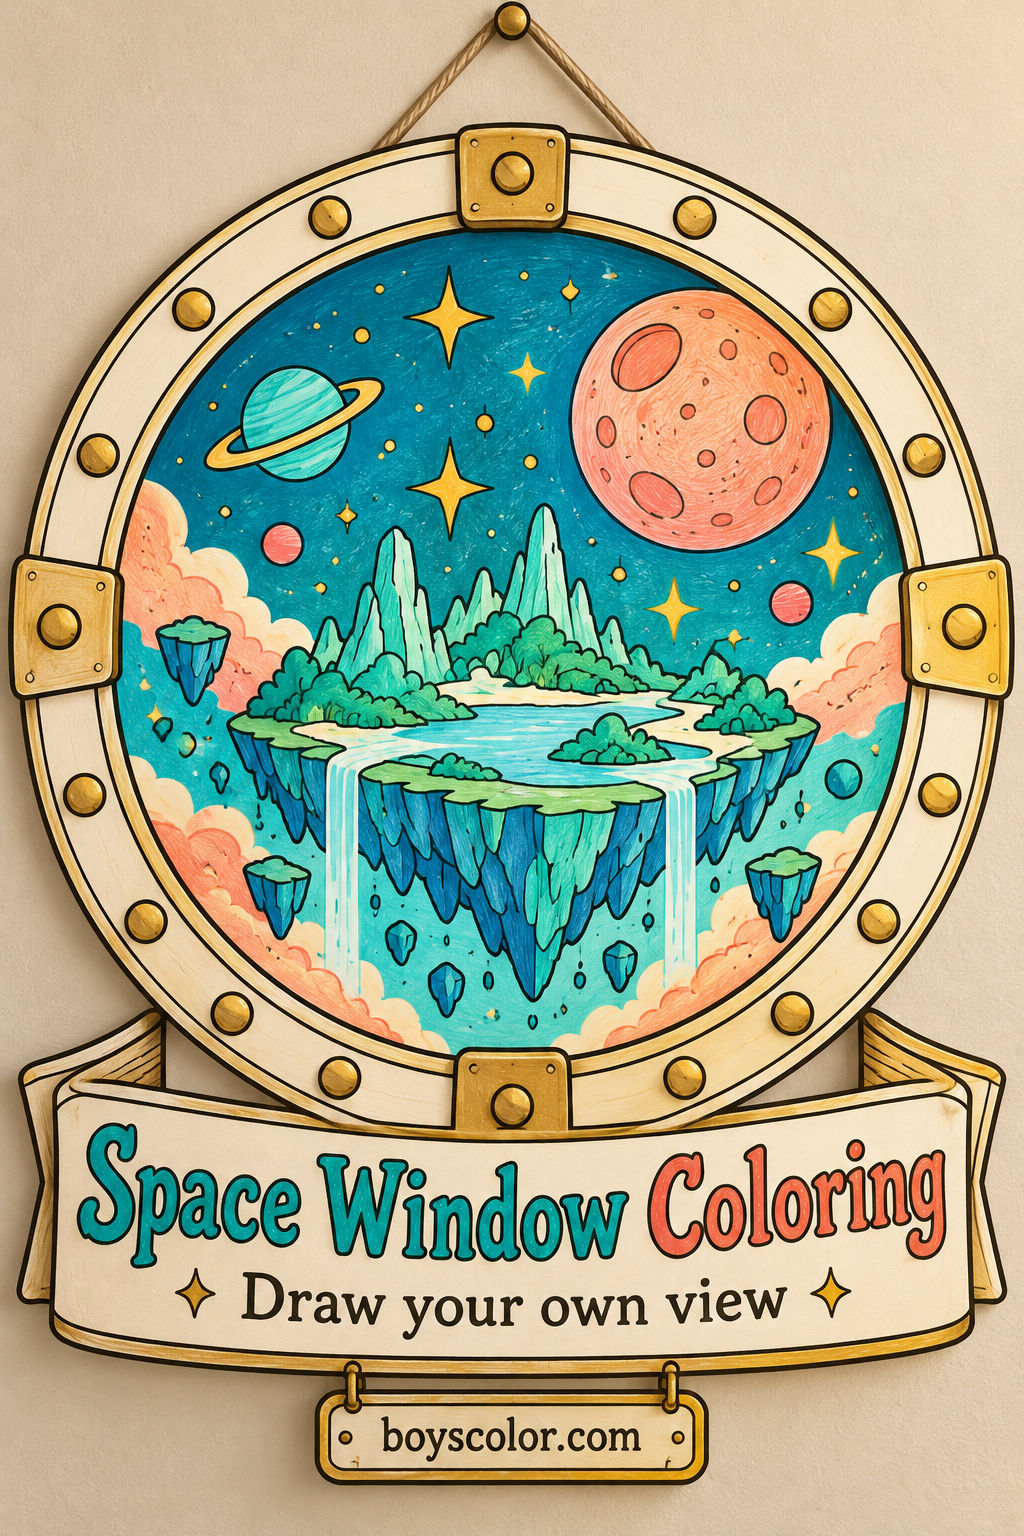
A little paper window can give a finished drawing somewhere to belong. In this project, your child colors a large porthole frame, invents the view inside it and chooses a place to display the result. The aim is one satisfying piece of room art, not a sheet filled with as many planets as possible. A single surprising shape can be enough to look at through the window.
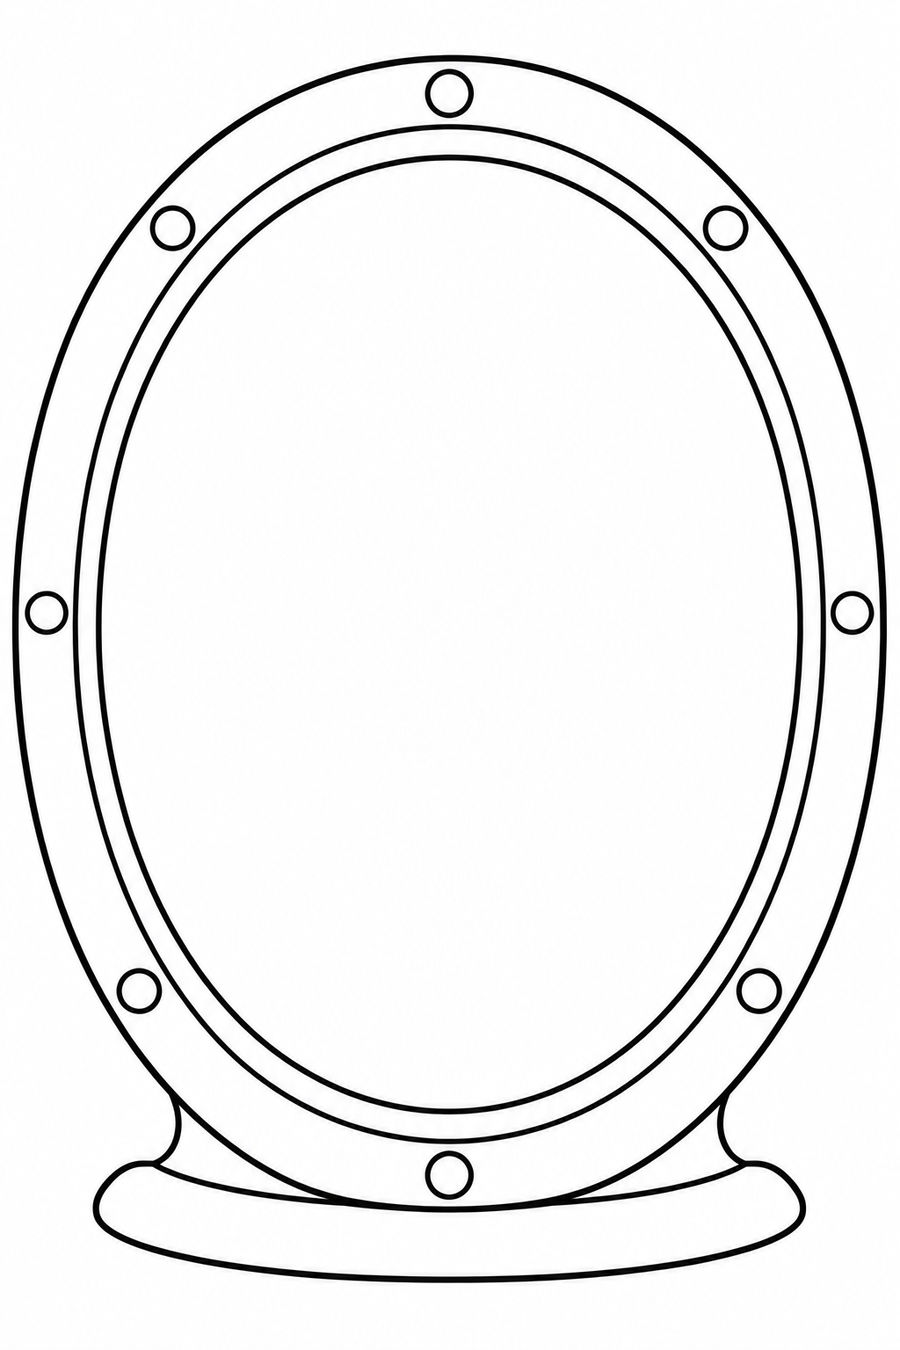
The original free BoysColor PNG below has one upright oval frame with a completely empty center. That white space is deliberate. Use it for your own drawing, or let an adult turn the printed frame into a paper overlay for a separate view. The second version can hold a different child-made picture later without printing another frame.
This is a flat paper display, not a real window treatment, a light-up decoration or a model of a spacecraft. The colored cover is an illustrative example with different decorative details; it is not an extra download or a picture your child has to copy. The actual free file is the simple black-and-white frame.
Choose a simple display or a changeable paper frame
For the no-cut version, you need the printed PNG, pencils or crayons and a plain sheet of backing paper if you want a border. For a changeable view, add another plain sheet and removable tape suitable for paper. An adult handles any cutting inside the frame. There is no need for a craft knife, special cutting tool, plastic film, lights or glue on actual glass.
Print in portrait orientation and use Fit to page for Letter or A4. This is a PNG image, not a pre-sized PDF. Check the preview to keep the outer rim and bottom sill within the printer margins. One test copy is enough before a group session. A smaller print works too, but do not stretch the oval or print with a cropped edge.
Make the display decision before the first crayon mark: will the view stay on this sheet, or will the frame sit in front of another drawing? The no-cut version is the quickest. If a child wants to swap pictures later, an adult can prepare the overlay while the child plans a view on scrap paper. Neither version is better; choose the one that feels enjoyable today.
- Print the one free frame and choose a no-cut or overlay version.
- Color the rim and leave the central view area clear for now.
- Draw one invented view on the sheet or a separate piece of paper.
- Place, name and display the artwork, then decide whether to change its view later.
Free printable: Your space-window paper frame
The sheet gives the display a clear boundary: a broad oval rim, circular decorations and a small sill. Color these areas first so the frame feels like something your child has designed. The little circles may be pretend bolts, lights or just a pattern. They are not a printed code and do not need to be cut out or counted.
The task differs from our rocket-window drawing challenges. Those pages put imagined views into one, two or three windows on a rocket. Here the window itself becomes a piece of room art. The useful decisions are how to frame a picture, where to show it and how to exchange a view without rebuilding the whole display.
1. Design a rim that helps the picture stand out
Pick a simple rim idea before decorating every space: alternating colors around the circles, one main color with a contrasting sill, or a band of large marks. These are choices, not required pattern rules. A partly colored frame can look finished. Avoid adding lots of tiny details just because there is still white paper available.
If the child wants a dark imaginary view, a light rim can separate it from the surrounding page. For a pale view, a stronger rim may do the same job. Try the colors on scrap paper first. This is a design suggestion rather than a rule about correct colors, and the child can choose a completely different combination.
2. Make one view worth looking at
Begin with one large feature: a floating garden, a moon with a winding path or a distant station shaped like a teacup. Place it where the oval will frame it comfortably. Add a few smaller details only if wanted. The drawing can stay fantastic; it does not need to represent real planet sizes, positions or conditions in space.
For the no-cut version, draw directly inside the empty oval, then color the view. For the overlay version, hold the printed window over a plain sheet before anyone cuts and lightly note how much paper must be covered. Let the view extend beyond the opening so a small shift will not reveal an unwanted blank strip. No exact template dimensions are required.
3. Optional adult step: turn the sheet into an overlay
An adult can remove the blank center while keeping the broad rim intact, using a method they are comfortable with. Do not make cutting a condition of the activity. If reaching the center is awkward with the available scissors, keep the page whole and use the no-cut version. The project does not need a perfect inner edge.
Keep the frame as a rectangle on its printed sheet, or trim the outside broadly if you prefer. Lay it over the separate view and check the arrangement without attaching anything. Place a small removable-paper-tape tab at the top or corners to keep the layers together. Do not seal every edge if you want to lift the frame and replace the picture later.
4. Mount the paper artwork, not the actual window
Set the page on a contrasting backing sheet if you want a border. A folded card stand or an existing display board can show it without adding tape to a wall. If you choose a wall or door, an adult should use a suitable removable mounting method and check the surface instructions first. No adhesive method is guaranteed to leave every finish unchanged.
Keep the display clear of heaters, lamps and any place where it could block a real window, handle or ventilation opening. Do not hang cords around the project. Nothing needs to glow or catch sunlight to make it complete. Paper on a normal display board is enough for a child to show the scene they invented.
5. Give the display a name and try a different viewing distance
Write a short title on the backing paper or tell it aloud. Ask the child what they would like someone across the room to notice first. Look from nearby and then a little farther away. If the main idea disappears, the child may strengthen one outline, add one larger shape or simply decide the picture is meant for close looking.
For a changeable frame, save a second view for another day. Lift the paper overlay, replace the drawing and use the same loose tape tabs again if they still hold safely. A new view can have a different mood without becoming a new worksheet. Let the child choose whether to keep both pictures, display them side by side or leave the first one in place.
- Color the porthole rim in a chosen palette.
- Fill the center or prepare a separate imagined view.
- Use the optional adult-made overlay only if desired.
- Name the picture and choose a suitable paper-art display spot.
Download this free printable (PNG)
Ask your child: What would you like someone to notice first through your paper window?
Let a small finished display be enough
A frame with one large shape inside can be a complete project. There is no need to fill the background, write a long story or finish a second picture. If the child stops after coloring the rim, keep that work and return to the view later. The blank center has not become a mistake because it remains empty for a while.
When the artwork comes down, store the frame and any separate views flat in a folder. If the overlay tears or a tape tab loses its hold, an adult can simplify it back into a whole-page display. The goal is a usable home for a child’s drawing, not a fragile craft that must stay perfect.
For a different kind of space activity, the separate alien-design guide invites a child to invent a character rather than make a display. You do not need to add that task today. One colored window with a view your child chose is already something they can point to and say, “I made that.”
🚀 More space coloring collections
3 hand-picked coloring page sets on the same theme.